by dnutbourne | Jun 10, 2022
WP-Optimize now offers automatic conversion of JPG and PNG images to the WebP format during image compression.
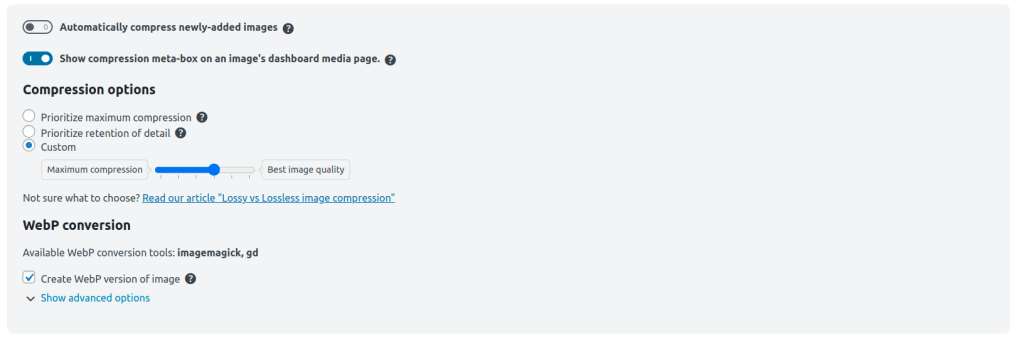
To configure automatic WebP conversion, navigate to WP Admin -> WP-Optimize -> Images. You’ll find the WebP option under the Image Compression tab.
The WebP serving method (either htaccess redirection or AlterHTML) is auto-detected and applied by default. However, if you need to choose a specific method, you can enforce the use of the AlterHTML method by hooking into the wpo_force_webp_serve_using_altered_html filter. For example:
add_filter(‘wpo_force_webp_serve_using_altered_html’, ‘__return_true’);
FAQ for “No WebP conversion tools are available on your web server”, in case you get this error.
by Wayne Mullins | Jul 19, 2019
For a detailed walk-through on how to use the WP-Optimize image optimization feature, we put together a video that takes you through all the necessary steps:
Full written instructions on how to best compress and optimize your images can also be found here.
by Wayne Mullins | Jul 19, 2019
The “backup original images” option preserves original (uncompressed) copies of your images with this setting enabled. This will nearly double the size of your uploads folder but provides a simple backup solution for your original media files. You can turn this off if you want to save space.
by Wayne Mullins | Jul 19, 2019
We know how easy it is to make mistakes when editing your images, which is why Image Optimiser offers the ability to backup your original files so you can quickly restore them in case you need the original full quality image.
by Wayne Mullins | Jul 19, 2019
There may be a slight loss of image quality, but in most cases the quality loss is so tiny, it can’t even be noticed. Once your images are converted to a smaller file size, you will of course lose some of the data from the original file and the more you compress it, the more degradation occurs. One of the biggest reasons why we use lossy compression is that it maintains better image quality compared to lossless compression, while still giving a significantly reduced file size.
Recent Comments